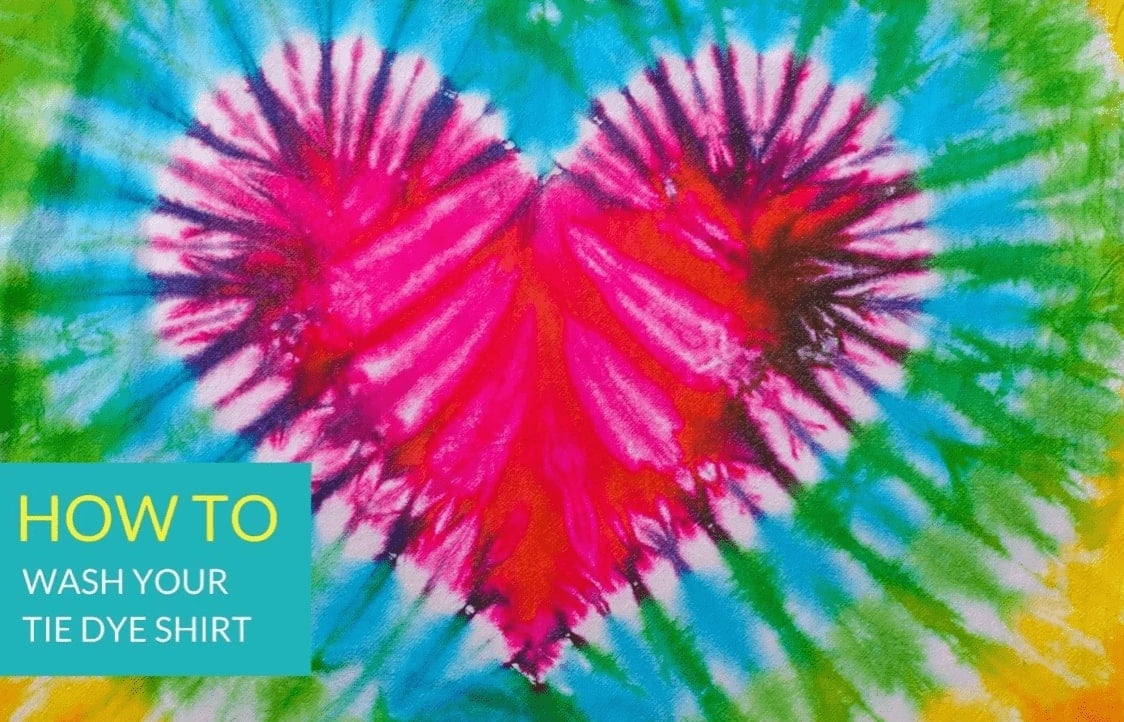
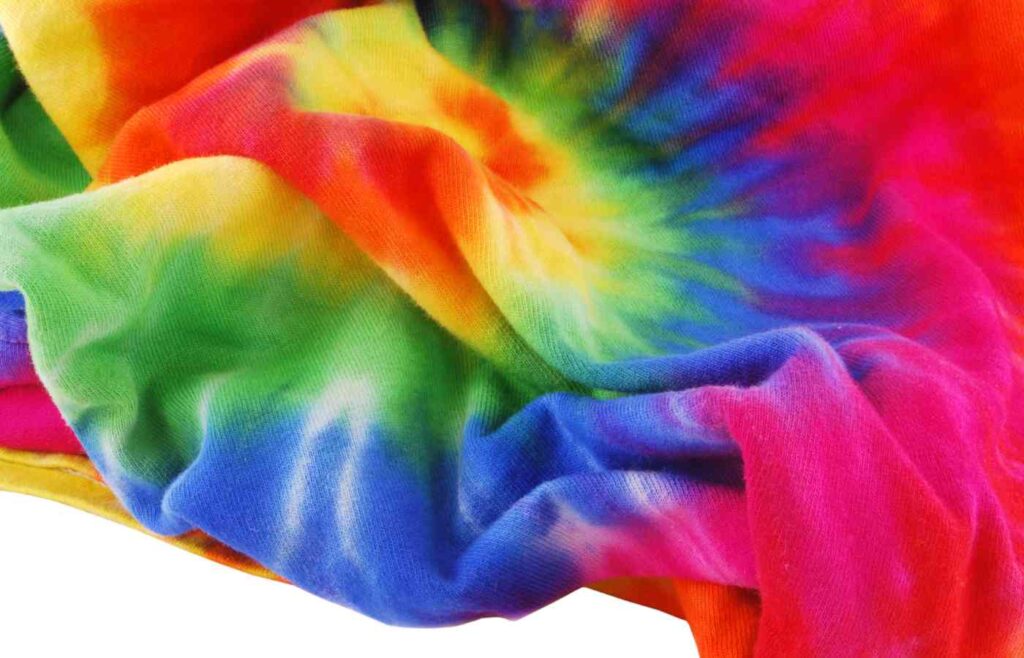
Tie-dye shirts have been popular for decades, and it’s no wonder why!
I’m Calie, a parent of three, former camp counselor, and craft lover extraordinaire.
In this article, you’ll learn how to care for your tie-dye shirt properly so that it turns out as brilliantly as possible, does not fade over time, and lasts for years to come.
And, very importantly, you’ll learn how NOT to stain your other clothing with loose and excess dye.
Let’s jump in!
Here’s the step-by-step process for the best way to wash your tie-dye shirt for the first time:
- Let it steep for 24 hours.
- Rinse with cold water.
- Soak in cold water for 30 minutes with vinegar or soda ash.
- Remove rubber bands.
- Wash in hot water with regular detergent.
Here’s a helpful video that dives into this process:
Want more information on each step? Here are the details:
Step 1: Let it steep for at least 24 hours.

First things first. Be patient!
We know you can’t wait to see how it all turned out.
But it’s so important that you do not take the tie-dye shirt out of the plastic bag or plastic wrap too soon.
Fiber reactive dyes need to sit for about 24 hours to let the chemical reaction fully process. You have to allow plenty of time for the reactive dyes to do their thing.
Being as patient as you possibly can be will go a long way towards making all the different colors in your tie-dye shirt come out the best it possibly can.
The first step is to let it sit and steep in a plastic bag with the rubber bands on it for at least eight hours (and preferably overnight).
Step 2: Rinse with cold water.
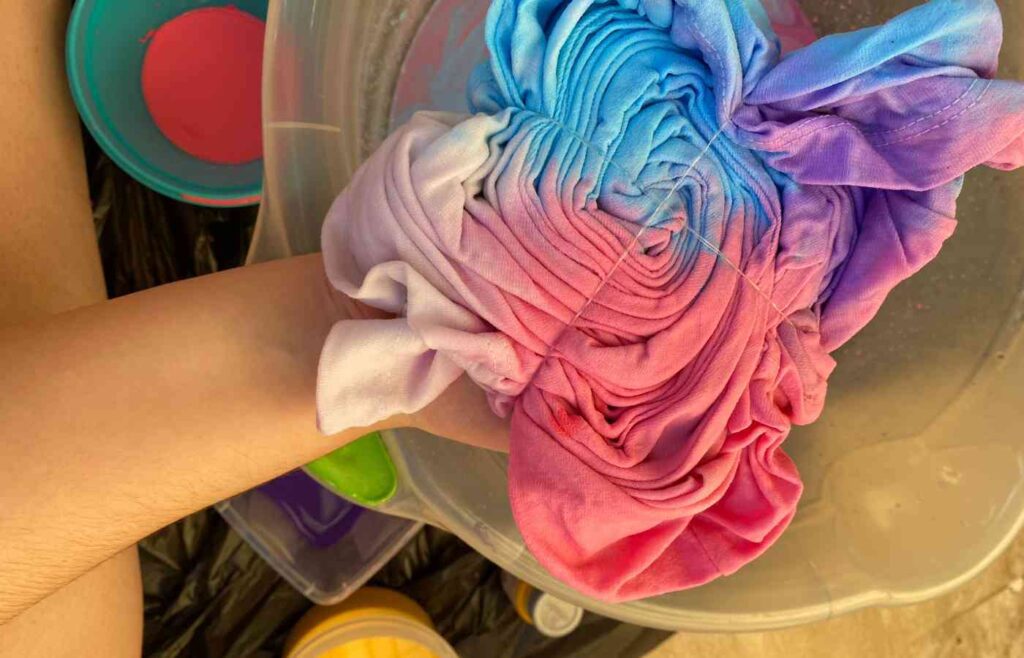
Once you’ve let it sit overnight, it’s time to throw on some rubber gloves and protective clothing! This will help you avoid staining your skin and other items with loose and excess dye.
With the rubber bands still on, remove from the plastic bag and rinse your tie-dyed items in cold water.
The purpose of this step is to rinse out loose and excess dye.
It’s a good idea to rinse your tie-dye shirt alone.
Do not rinse your shirt with other clothing because the loose and excess dye will stain the other clothes.
You can rinse with cold water using a few different methods:
- Your first option is to use a washing machine. If your washing machine has a rinse setting, even better!
- Your second option is to do this step by hand, by rinsing your tie-dye shirt under cold running water in a large utility sink (the kitchen sink will do just fine, as well!).
- Your third option for this step is to place your tie-dye clothes on a flat surface like a concrete or asphalt driveway and spray it with a hose until the water runs clear. (This is my personal favorite.)
Step 3: Set Your Tie-Dye.
Step three is a step that is often over-looked, and skipping it means that the designs that you worked so hard on will fade more quickly over time.
So, don’t skip this easy step!
We’re talking about setting your tie dye shirt’s vibrant colors.
You can use soda ash or the white vinegar that is probably lying around your house somewhere.
For best results, simply place your shirt (alone!) in a bucket with a gallon of water and mix it with 1-2 cups of vinegar. Swish it around for a few minutes, and then allow it to soak for 30 minutes.
Do not soak it with other clothing because the loose and excess dye will stain the other clothing. A
fter thirty minutes, take your tie-dye shirt out of the water and vinegar mixture, and wring it out.
This step will serve you well for months and years to come because your tie-dye shirt and the beautiful designs you worked so hard on will last much longer.
Step 4: Remove rubber bands.
The time has come!
This is arguably the most fun part of the tie-dye process because you finally get to see how your design turned out when it comes out of the plastic bags and gets free from the rubber bands.
Whether you used a spiral pattern, bulls-eye pattern, the crumple method, a heart-shaped pattern, a beautiful nebula design, a sunburst, or some other creative tie-dye design, now is the time you get to see how it all turned out.
Voila! How does it look?
Behold, your amazing tie-dye creation!
Pretty soon you’ll be ready to rock your new tie-dye shirt around town.
Give your shirt another rinse in cold or cool water, wring it out to remove excess water, and let it drip dry until it’s not dripping anymore.
Step 5: Wash shirt using detergent in hot water (Alone!)

The next step is to give your shirt a good wash using a very small amount of regular laundry detergent in hot water.
Again, it’s a good idea to wash your tie-dye shirt alone.
The loose and excess dye will stain other clothing.
Also, do not use fabric softener!
For best results, use a wash cycle with hot water because the high heat helps set the color.
Also, set your washing machine to the smallest load.
Step 6: Repeat as necessary.
Careful!
You’ll want to repeat these step-by-step instructions until you are sure that your tie-dye shirt will not bleed out excess dye.
Some tie-dye shirts will need to be washed twice (or more) to ensure that the excess dye does not stain other clothes.
For best results, wash your tie-dye shirt a few times alone in warm water before mixing it with other clothing.
Once it’s been washed a few times, you should be safe to wash your tie-dye shirt with other clothing in future washes.
Step 7: Air Dry.
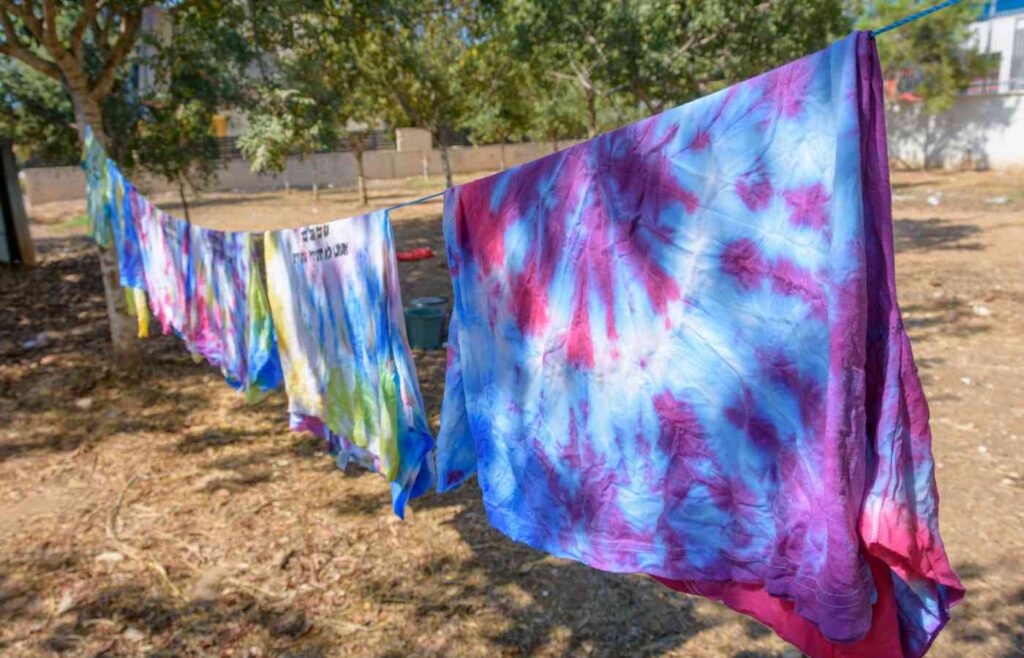
Let your tie-dye shirt or clothing air dry.
Air drying is better than using the dryer because the high heat can cause your bright tie-dye colors fade and you run the risk of shrinking your shirt.
Hang your new tie-dye shirt up in the sunshine and watch it blow in the breeze as you admire the bright colors on your awesome new tie-dye t-shirt.
Helpful Hints For Washing Your Tie Dye Shirt & Clothing
There are some helpful hints that you’ll want to keep in mind as you care for your tie-dye clothing:
1. Always wear gloves & protective clothing when handling your tie-shirt and clothing.
When handling your brand new tie-dye t-shirt, it’s a good idea to wear rubber gloves and protective clothing to protect your skin and other items. This will prevent the loose and excess dye from staining your skin and getting on other clothing or items.
If you don’t wear rubber gloves, you will likely stain your hands and other items, no matter how careful you are. And if you don’t wear protective clothing, you may stain the clothes you are wearing. Nobody wants that!
2. Use cold water for your initial rinse of your tie-dye shirt.
Using cold water in your initial rinse of your tie-dye shirt helps set the dye.
3. Use cold water for mixing with vinegar and setting the dye.
Using cold water to mix with the vinegar is an important step in setting the dye. The hot water comes later.
4. For your first wash, be sure to wash your tie-dye shirt alone.
This is probably the most important helpful hint for washing your tie-dye shirt for the first time. It’s so important to wash your tie-dye shirt alone for the first time. Otherwise the excess and loose dye can stain your other clothing, and you could ruin your other clothes and items.
5. For your first wash, use hot water to help set the dye.
For the first time you wash your tie-dye t-shirt or clothing, use hot water. The high heat will help set the dye.
Helpful Hints To Make Your Tie-Dye Shirt Last A Long Time
- After your initial wash, it’s a good idea to continue to wash tie dye shirts alone, or with other tie dye items or similarly colored garments. After three or more washes, you can be confident that it will not ruin your other clothing.
- To be on the safe side, you may want to turn tie dye t-shirts and clothing inside out before placing them in the washing machine, so that excess and loose dye does not stain other clothing.
- For future washes, use the gentle cycle and cold water.
- It’s a good idea to remove your shirt promptly from the washing machine after the cycle finishes. If you allow it to is in the washing machine for too long while it is damp, the colors could start to bleed. This will cause the shirt to fade, and the excess dye could stain other clothing in the washing machine.
- Always air dry if possible. If you’re not able to air-dry your tie-dye shirt every time, consider drying it in the dryer on a medium or low heat setting. This will help your tie-dye shirt last a longer time and you’ll be able to appreciate those bright colors and fun patterns for years to come.
Tie Dye Kits You’ll Love
Are you looking for Tie Dye Kits that will make the whole process easier for your next tie dye project?
This one-step tie-dye kit will simplify your next tie-dye project.
It includes enough tie-dye supplies for a party of five people, including 15 squeeze bottles of highly-concentrated nontoxic one-step dyes in popular colors (you have to add water to activate), plus a step-by-step technique guide featuring 8 tie dye looks to choose from.
Want to throw a tie dye party? We put together creative ideas and pro tips that will make your party the most colorful one yet.
Ordinary rubber bands, squirt bottles, and a little bright-colored dye can transform your old white shirts into masterpieces of amazing patterns that are fun to wear all year round.
But, they do require a certain type of care.
Whether you’re a fan of the traditional spiral design, or more of a bull-eye pattern type person, tie dye shirts are one of the most fun summer craft for kids (and adults!).
We’ve given you super-simple straightforward instructions and best practices for how to wash your favorite tie-dye shirt. We hope these easy steps and helpful hints make your busy life a little bit easier.
I have such fond childhood memories of making brightly-colored tie-dye shirts at the camps I went to as a child. It was always a highlight of my childhood camp experiences, in the sunshine on the “craft porch” with the other campers, dipping our white t-shirt into the plastic buckets of different tie-dye colors, squeezing the squirt bottles carefully over the t-shirt, and hoping our tie-dye shirt would turn out as cool as we were imagining in our heads.
The best thing about the design process was that, even though I was always nervous mine would turn into a disaster, it seemed to turned out just fine every time, even if if wasn’t quite what I expected.
It’s pretty difficult to mess up a fun craft like tie-dying. That being said, I was always so impressed with the kids and camp counselors who could create specific patterns and unique designs, and turn their old clothes into masterpieces. It’s truly an art!
And, thankfully tie-dye shirts are finally back in style. Thank goodness! Why did they ever leave us? I’ve seen them recently at top brand stores and I think it’s safe to say they’re finally cool again. They are officially back in style from their original hey-day in the sixties and seventies.
Summer memories are special, and I wish you a very happy summer filled with fun memories with your kids. Hang in there, you’re doing a great job with those kids of yours.
Happy tie-dying!
Related posts:
10 Easy Tie Dye Patterns for Kids
10 Best Indigo Tie Dye Patterns & Techniques
Calie Herbst, Editor-in-Chief of Milwaukee With Kids, has spent over a decade combining her experiences as a parent of three to create a hub for Milwaukee’s family adventures.
Her decade-long teaching career in Milwaukee Public Schools and academic background, including a Master’s in Teaching from Marquette University and dual B.A.s in Sociology and Spanish from the University of Wisconsin – Madison, fuel her passion for inclusive and engaging family content.
Calie is also a recognized voice in local media, contributing to WISN Channel 12 News, WTMJ Wisconsin Morning News, Fox 6’s Real Milwaukee, and B93.3.
Discover more about Calie’s journey and editorial approach on her About Page and Editorial Policy Page.


